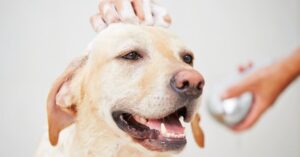
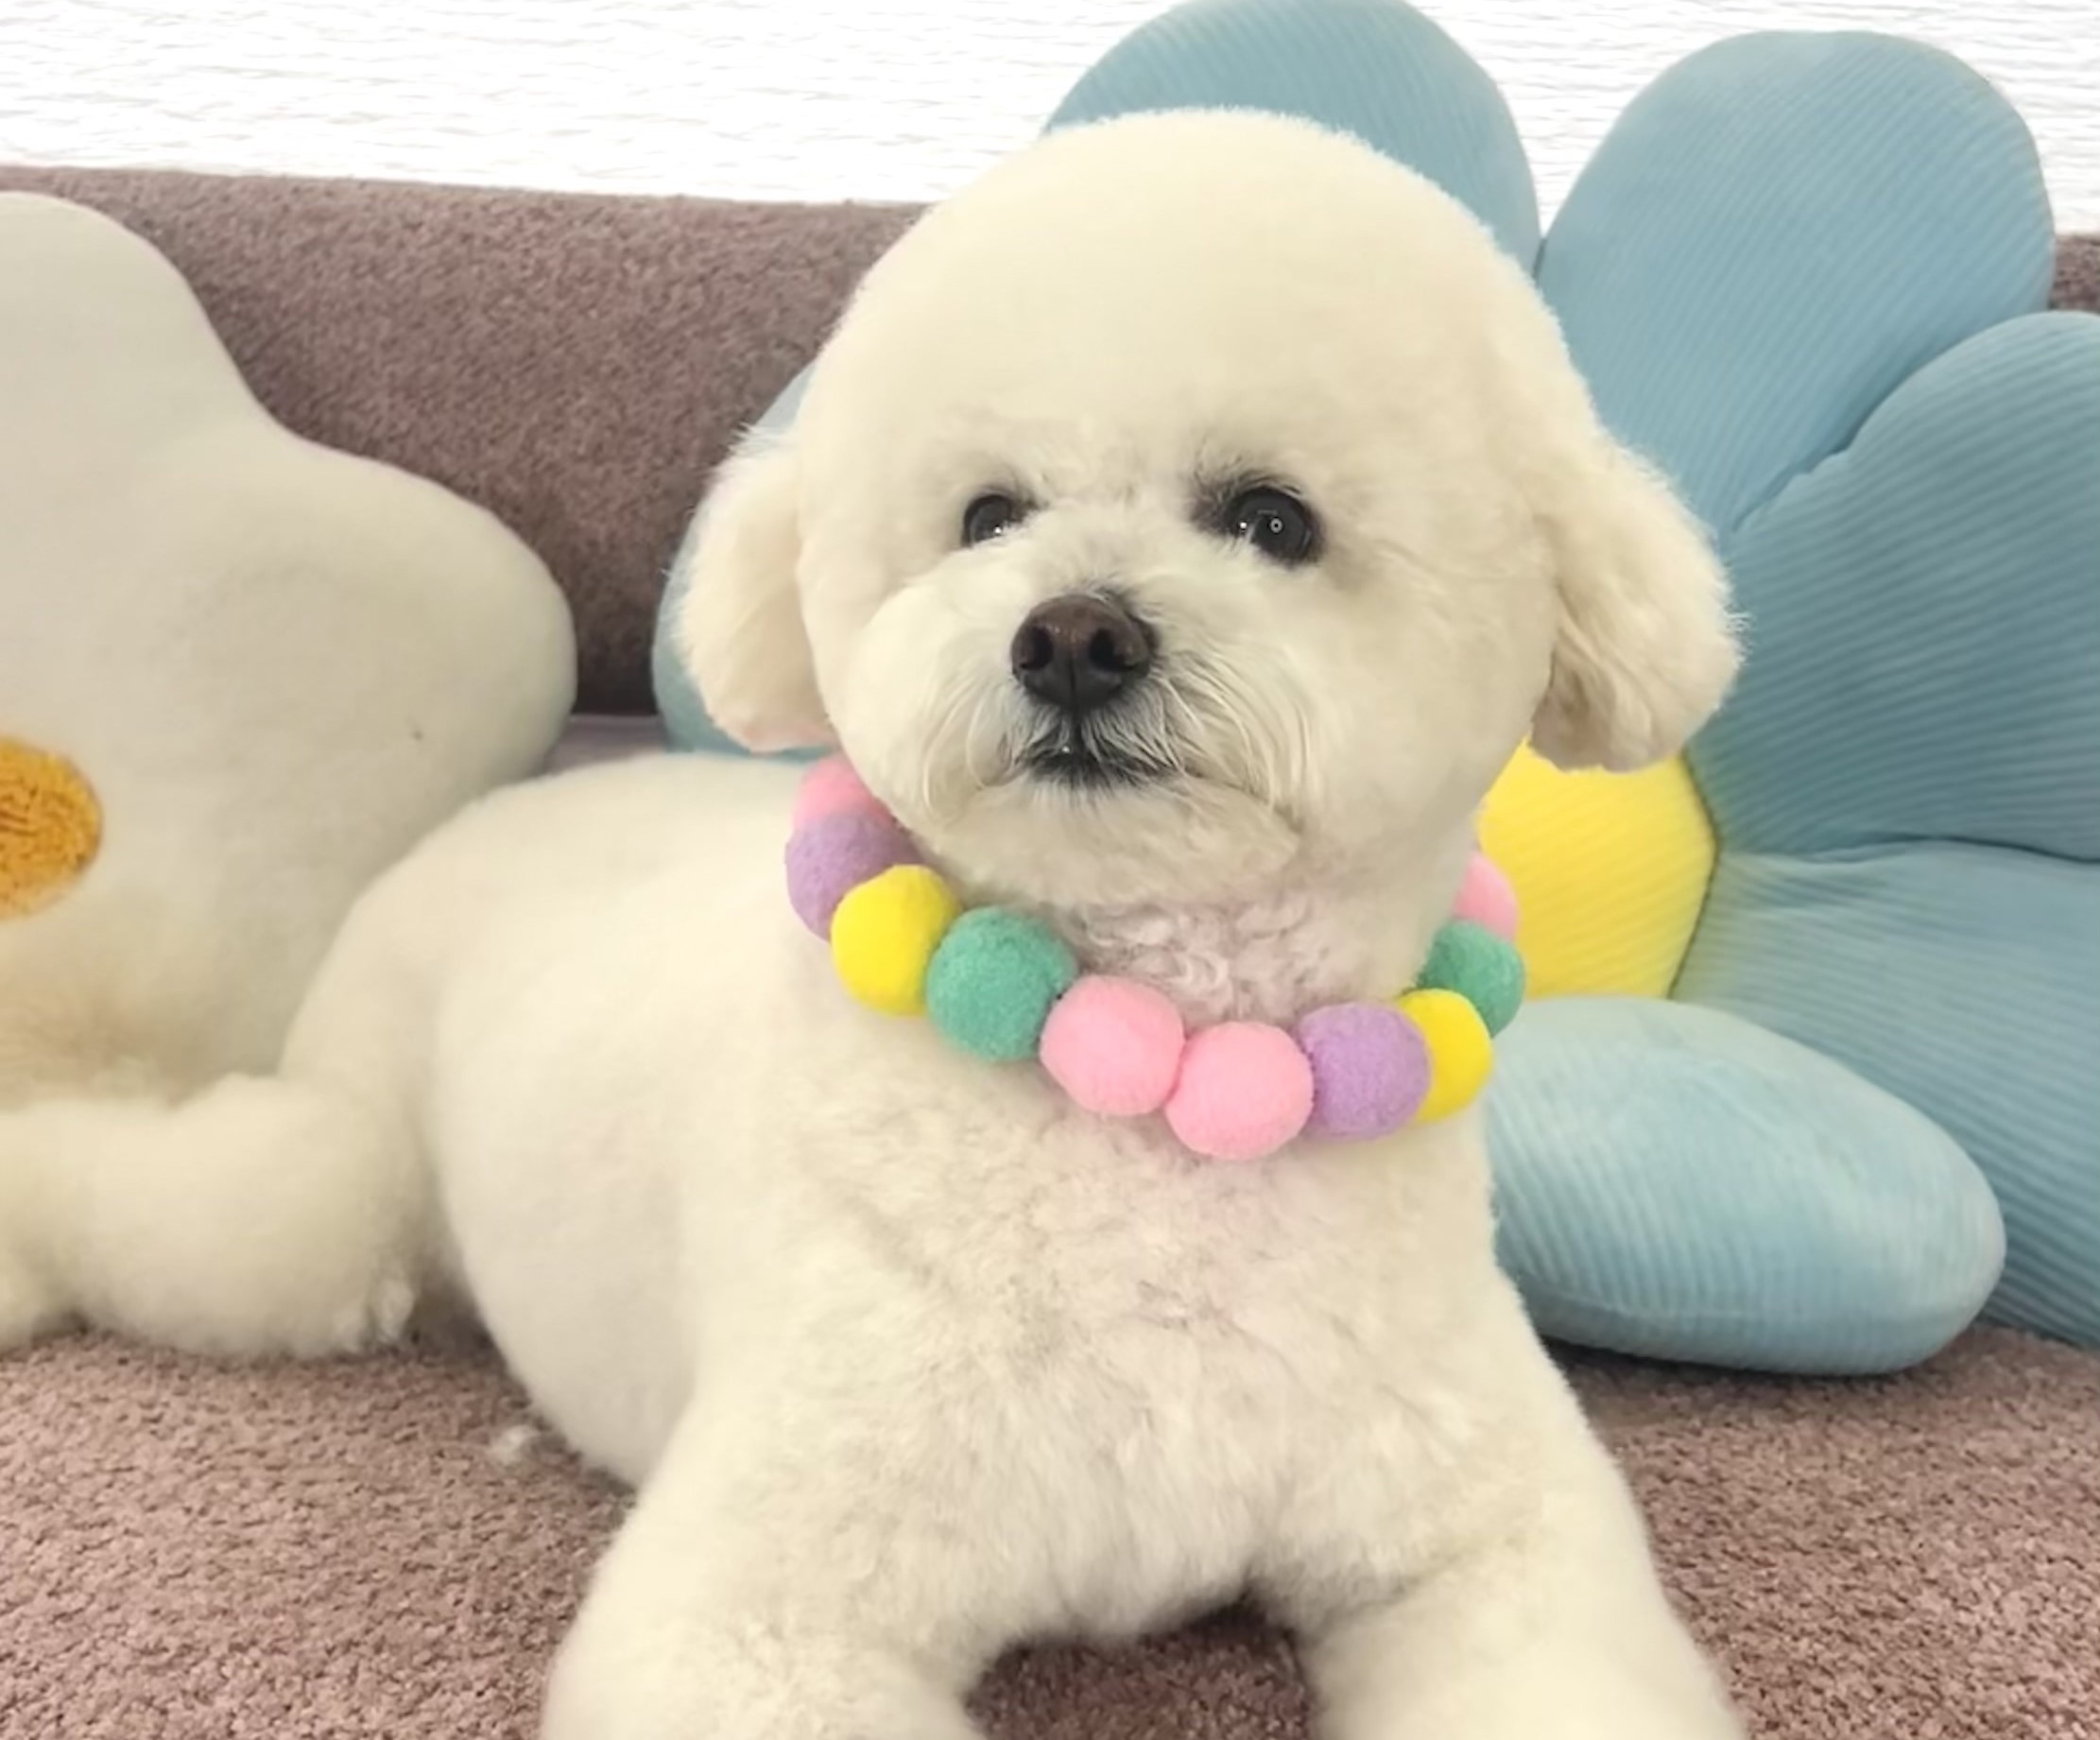
To give your dog a spa treatment at home, create a calm space, brush the coat thoroughly, bathe your dog with a pet-safe shampoo, rinse and dry completely, clean the ears and eye area, trim the nails if it is safe to do so, moisturize the paw pads, and finish with a gentle massage. Keep the experience short, comfortable, and rewarding, and never use human grooming products on your dog.
A home dog spa day can be much more than an occasional bath. When it is done correctly, it supports skin and coat health, keeps paws and nails comfortable, reduces shedding, and gives you an opportunity to notice small health changes before they become serious. It can also help a dog become more relaxed about routine handling and grooming.
The secret is not expensive equipment or scented bubbles. Dogs do not care whether their towel matches the bathroom. What matters is using safe products, working at your dog’s pace, and turning each grooming step into a calm and positive experience. This guide explains how to create a complete dog spa treatment at home without sacrificing safety or comfort.
What Is an At-Home Dog Spa Treatment?
An at-home dog spa treatment is a gentle grooming routine designed to clean, condition, and care for your dog’s coat, skin, paws, nails, ears, and general comfort. It usually includes brushing, bathing, drying, basic hygiene care, paw care, and massage.
Unlike a hurried bath after a muddy walk, a spa treatment is planned in advance. The environment is quiet, the supplies are ready, and each stage is carried out slowly. The goal is not simply to make your dog smell fresh. It is to improve comfort, maintain healthy grooming habits, and create a positive association with being handled.
Home spa care does not replace professional grooming or veterinary treatment. Dogs with heavily matted coats, skin infections, painful nails, ear problems, or strong grooming anxiety may need help from a qualified professional. At-home care works best as part of a regular routine between professional appointments.
Benefits of Giving Your Dog a Spa Day at Home
A carefully managed spa session can benefit both you and your dog.
Healthier skin and coat
Brushing removes loose hair, dirt, and small debris. Bathing with a suitable dog shampoo can remove excess oil and environmental allergens without stripping the skin. If your dog’s coat type needs conditioner, it may also reduce tangles and leave the hair easier to manage.
Early detection of possible problems
While brushing and bathing, you can check for lumps, bumps, fleas, ticks, sore spots, rashes, unusual odors, broken nails, and changes in the skin. Finding something early does not tell you what it is, but it gives you a reason to contact your veterinarian promptly.
Better paw and nail comfort
Overgrown nails may affect the way a dog stands and walks. Dry or damaged paw pads can also become uncomfortable. Regular checks help you keep both areas in better condition and spot cuts, foreign objects, swelling, or irritation.
Less loose hair around the home
Routine brushing collects loose hair before it reaches your sofa, rugs, and clothes. It will not stop normal shedding, but it can make it far more manageable.
A calmer response to handling
Short, positive sessions can teach a dog that having the paws, ears, coat, and body touched is not automatically frightening. This may make future grooming and veterinary examinations easier.
Quality time together
Many dogs enjoy calm brushing and massage once they feel safe. A spa day can become relaxed one-to-one time rather than a wrestling match involving wet towels and regret.
Supplies You Will Need
Gather everything before bringing your dog into the bathing area. Leaving a wet dog alone while searching for a towel is both unsafe and an excellent way to redecorate the house with water.
Useful supplies include:
- A brush or comb suitable for the coat type
- A nonslip bathmat or rubber shower mat
- Dog-specific shampoo
- Dog conditioner or detangling product, if needed
- Several clean, absorbent towels
- A cup, jug, or low-pressure shower attachment
- Cotton pads or a soft damp cloth
- Veterinarian-approved dog ear cleaner
- Dog nail clippers or a nail grinder
- Styptic powder for minor nail bleeding
- Dog-safe paw balm
- High-value treats
- A lick mat, if your dog enjoys one
- A pet dryer or human dryer with a cool setting
Read every product label before use. Choose formulas intended for dogs and appropriate for your dog’s age, skin, and coat. Puppies, dogs with allergies, and dogs receiving skin treatment may need specific products recommended by a veterinarian.
Prepare a Calm and Safe Spa Area
Choose a warm, quiet room where your dog cannot easily slip or escape. For a small dog, a sink or basin may work if it is secure and comfortable. Medium and large dogs are usually safer in a bathtub or walk-in shower. In warm weather, outdoor bathing can be suitable, but the water should still be comfortably lukewarm and the area must be secure.
Place a nonslip mat under your dog. Slipping is frightening and can cause injury, particularly in senior dogs or dogs with joint problems. Keep shampoo, towels, and treats within reach so you can maintain control throughout the bath.
Reduce unnecessary noise. Turn off loud fans, keep other pets away, and avoid using strongly scented candles or essential oil diffusers. Many essential oils can irritate or harm pets, whether through direct contact, inhalation, or licking. A dog spa should smell like a clean dog—not a perfume counter.
Take your dog outside for a bathroom break before starting. A short walk can also release some energy, but avoid an exhausting workout immediately before bathing.
Step 1: Start With a Full Coat and Skin Check
Run your hands gently over your dog’s body before brushing. Check the neck, shoulders, chest, belly, legs, paws, tail, and the area beneath the collar or harness. Look and feel for:
- Lumps or swelling
- Redness or flaky skin
- Scabs, cuts, or tender spots
- Fleas, ticks, or flea dirt
- Bald patches or coat thinning
- Strong or unusual odors
- Areas that make your dog flinch
Do not squeeze lumps, pull at attached growths, or apply random home remedies to irritated skin. Photograph anything unusual if practical and ask your veterinarian for advice. Delay bathing if the skin is open, inflamed, painful, or appears infected unless your veterinarian has provided specific instructions.
Step 2: Brush Before the Bath
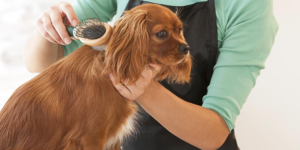
Always brush your dog before getting the coat wet. Water tightens tangles and can turn small knots into dense mats. Begin at an area your dog is comfortable having touched, then work gradually across the body.
Use a tool designed for the coat:
- Short, smooth coats often benefit from a rubber curry brush or grooming mitt.
- Double coats may require a slicker brush and an appropriate undercoat tool.
- Long or silky coats usually need a pin brush, slicker brush, and metal comb.
- Curly coats often require line brushing with a slicker brush and comb.
- Wire coats may need specialized tools and professional grooming techniques.
Brush in small sections and support the hair near the skin while working through a tangle. Never repeatedly drag a brush through a knot. If a mat is close to the skin, do not cut it with scissors; folded skin can easily be pulled into the mat and cut accidentally. Severe or widespread matting should be handled by a professional groomer.
Keep the first session brief if your dog is inexperienced. Reward calm behavior frequently, including standing still, allowing gentle handling, and looking at a brush without backing away.
Step 3: Protect the Eyes and Ears
Before bathing, gently wipe away ordinary discharge around the eyes with a separate damp cotton pad for each eye. Move outward rather than rubbing toward the eye. Do not use soap, shampoo, peroxide, or fragranced wipes near the eyes.
Normal tear staining is common in some dogs, but redness, squinting, swelling, cloudiness, colored discharge, or frequent pawing at the eye requires veterinary attention.
Avoid deliberately filling the ear canals with bathwater. Some owners place loose cotton balls at the ear openings, but these must remain visible and be removed immediately after bathing. Never push cotton deep into an ear.
Step 4: Use Lukewarm Water and Dog-Safe Shampoo
Test the water against the inside of your wrist. It should be lukewarm—not hot and not cold. Wet the body gradually, starting around the shoulders or feet rather than spraying the face. Keep the pressure gentle and hold the nozzle close to the coat to reduce noise and splashing.
Once the coat is saturated, apply dog shampoo according to the label. Some concentrated products must be diluted before use. Work the shampoo through the coat with your fingertips using gentle circular movements. Clean the neck, chest, belly, legs, feet, tail, and rear area while avoiding the eyes, mouth, inner ears, and genitals.
Do not scrub aggressively or use your fingernails. A spa bath should stimulate the skin gently, not scratch it. If the face needs cleaning, use a damp cloth or a tearless facial product specifically made for dogs.
Human shampoo, baby shampoo, dish soap, and household cleaners are not suitable substitutes for routine dog bathing. A dog’s skin has different needs, and inappropriate products may cause dryness, irritation, or other problems.
Step 5: Rinse More Thoroughly Than You Think Necessary
Shampoo residue is a common cause of itching after a bath. Rinse from the neck downward, allowing the water to carry suds away from already-clean areas. Use your fingers to part thick hair and help the water reach the skin.
Continue until the water runs clear and the coat no longer feels slippery. Pay special attention to the armpits, belly, groin, paws, and underside of the tail, where product can hide.
If you use conditioner, follow its label carefully. Apply only where appropriate, allow it to sit for the recommended time, and rinse completely unless it is specifically designed as a leave-in product.
Step 6: Dry the Coat Safely
Allow your dog to shake while still in the bathtub or shower area if possible. Then press and squeeze water from the coat with towels. Avoid vigorous rubbing, especially on long, curly, or tangle-prone hair, because friction can create knots.
Short-coated dogs may dry comfortably with towels in a warm room. Thick, double, curly, and long coats take much longer and can remain damp near the skin even when the surface feels dry. Trapped moisture may contribute to odor, tangling, or skin irritation.
If you use a dryer, choose a pet dryer or the coolest, lowest setting on a human dryer. Keep it moving and hold it at a safe distance. Never use high heat. Stop if the dog becomes frightened or the skin feels warm. Dogs with flat faces, breathing difficulties, heart problems, or extreme stress require extra caution and may be better served by a professional.
Brush gently during or after drying if the coat type requires it. Make sure the dog is fully dry before going outside in cool weather.
Step 7: Clean the Ears Only When Needed
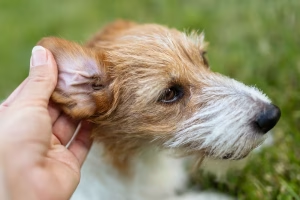
Healthy dog ears generally do not need aggressive cleaning. Look at the visible part of each ear and note any redness, swelling, discharge, excessive wax, or strong smell. These signs may indicate infection, mites, allergies, or another problem and should be assessed by a veterinarian.
For routine cleaning, use only a dog ear cleaner recommended by a veterinarian. Follow the product directions, massage the base of the ear gently if instructed, allow your dog to shake, and wipe material from the visible outer ear with cotton or gauze.
Never insert cotton swabs, tweezers, or other objects into the ear canal. Do not use alcohol, hydrogen peroxide, vinegar mixtures, or homemade solutions unless your veterinarian specifically directs you to do so.
Step 8: Trim or File the Nails Carefully
Nail care can be included in a home spa day, but only if your dog is comfortable and you know how to identify the quick—the blood vessel and nerve inside the nail. Cutting into it is painful and causes bleeding.
Use sharp dog nail clippers or a pet nail grinder. Work in good light and remove very small amounts at a time. With clear nails, the pink quick is often visible. Dark nails are harder to judge, so trim in tiny stages and watch the cut surface for changes that indicate you are approaching the quick.
Keep styptic powder nearby. If you accidentally nick a nail, apply the powder and steady pressure. Contact a veterinarian if bleeding does not stop promptly.
Do not force the entire job in one session. Trimming one or two nails and ending positively is better than creating a lasting fear. Dogs with black nails, overgrown nails, painful paws, or severe handling anxiety should have nail care performed by a groomer or veterinary professional.
Step 9: Give the Paws Some Extra Care
Check between the toes and around the paw pads for small stones, grass seeds, thorns, cracks, cuts, swelling, or matted hair. Remove only loose, easy-to-reach debris. Do not dig into the skin or pull out deeply embedded objects.
After the paws are clean and dry, apply a thin layer of dog-safe paw balm if the pads are dry. Prevent your dog from immediately licking off a large amount. Never use a human moisturizer without professional guidance because it may contain ingredients that are unsafe when licked.
Hair growing between the pads can reduce traction or trap dirt in some dogs. Because sharp tools near moving paws create an obvious risk, leave trimming to a professional unless you have been shown how to do it safely.
Step 10: Finish With a Gentle Dog Massage
A short massage is a calm way to complete the spa treatment. Wait until your dog is dry and settled. Begin with slow strokes over the shoulders, back, and chest. Use light circular movements over large muscle areas and watch the dog’s body language.
Relaxed eyes, leaning into your hand, soft facial muscles, and a loose posture usually indicate enjoyment. Turning away, lip licking, yawning, pinned ears, tense muscles, or attempting to leave means you should reduce pressure or stop.
Avoid pressing directly on the spine, joints, abdomen, injuries, or lumps. Massage should be gentle and soothing, not an attempt to manipulate muscles or treat pain. If your dog is stiff, limping, or sensitive, ask a veterinarian before performing massage.
Create a Positive Spa Experience
Your dog’s emotional comfort matters as much as the grooming result. Use treats, praise, and breaks throughout the session. A lick mat spread with a dog-safe food can help some dogs remain calm, provided the ingredients suit the dog’s diet and do not contain xylitol.
Keep sessions shorter than your dog’s patience. You can divide the routine across several days: brush on day one, bathe on day two, and handle nails on another day. There is no rule saying every spa service must happen before lunch.
Never punish growling. A growl is a warning that the dog is uncomfortable. Stop, create distance, and reassess. Dogs that snap, panic, shut down, or struggle intensely may need gradual cooperative-care training with support from a qualified trainer, groomer, or veterinary behavior professional.
How Often Should You Give Your Dog a Spa Treatment?
The ideal schedule depends on breed, coat type, lifestyle, health, and skin condition. Many dogs benefit from brushing several times a week, while long, curly, or double coats may need attention more often. Bathing is usually less frequent and should be based on dirt, odor, coat needs, and veterinary advice rather than a rigid calendar.
Very frequent bathing with unsuitable products can dry or irritate the skin. On the other hand, dogs with medically managed skin conditions may need scheduled baths with a prescribed shampoo. Follow your veterinarian’s instructions when medical treatment is involved.
Nails should be checked regularly and maintained before they become long enough to affect movement. Ears should be inspected routinely but cleaned only as needed. Paw checks are especially useful after walks on rough ground, hot pavement, snow, salted sidewalks, or areas with grass seeds.
Common At-Home Dog Spa Mistakes
Avoid these frequent errors:
- Bathing before removing tangles and mats
- Using human shampoo or strongly fragranced products
- Allowing water or shampoo to enter the eyes and ears
- Failing to rinse shampoo out completely
- Using a hair dryer on a hot setting
- Leaving a dense coat damp near the skin
- Cutting mats with scissors close to the body
- Trimming too much nail at once
- Forcing a frightened dog through the session
- Applying essential oils or unapproved home remedies
- Ignoring redness, odor, pain, or unusual discharge
The best spa treatment is not the one with the most steps. It is the one your dog can complete safely and comfortably.
When Professional Grooming Is the Better Choice
Professional help is recommended when a dog has heavy matting, a coat requiring specialist clipping or hand-stripping, severely overgrown nails, repeated skin problems, difficult ear buildup, or behavior that makes grooming unsafe.
An experienced groomer has appropriate equipment, handling skills, and knowledge of different coat types. Regular professional appointments can also make home maintenance easier. Mishka Grooming can be part of a broader care routine when owners need skilled grooming support beyond basic brushing, bathing, and hygiene at home.
Contact a veterinarian rather than a groomer when you notice open wounds, signs of infection, persistent itching, sudden hair loss, painful ears, eye problems, unexplained lumps, parasites, limping, or significant changes in behavior.
Final Thoughts
Giving your dog a spa treatment at home is a practical way to support cleanliness, coat care, paw comfort, and positive handling. The safest routine begins with preparation, continues with gentle brushing and a properly rinsed bath, and ends with careful drying, basic hygiene care, and a relaxing massage.
Pay attention to your dog’s body language at every stage. Adapt the treatment to the dog’s coat, age, mobility, health, and tolerance rather than following a one-size-fits-all routine. If a step feels unsafe, causes pain, or reveals a possible medical concern, stop and involve the appropriate professional. A successful dog spa day should leave your pet clean, comfortable, and relaxed—not exhausted by an unwanted beauty marathon.